AI Photo Restoration: How to Fix Old and Blurry Family Photos for Free

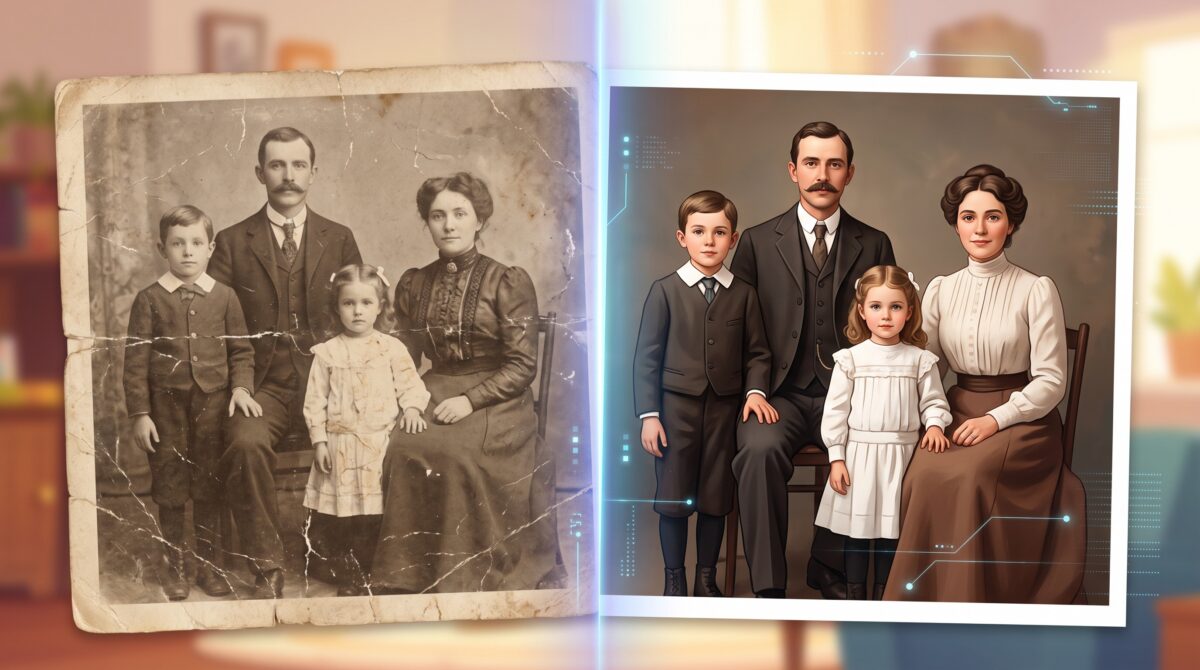
Everyone has the shoebox. Faded Polaroids, a cracked wedding portrait, a blurry snapshot of a grandparent you barely got to know. For decades, fixing those meant a specialist, a scanner, hours in Photoshop, and a bill. Now your phone can do a startlingly good job in the time it takes to pour a coffee — and most of the tools are free.
Here is the part nobody tells you: the difference between a restoration that makes people gasp and one that looks like a melted wax figure isn’t the tool. It’s the order you do things in and knowing when to stop. Let’s walk through it.
First, get a clean scan (don’t skip this)
AI can only rebuild from what you feed it, and a lazy capture is the number-one reason results disappoint. You don’t need a flatbed scanner. Your phone is fine — if you do it right.
- Flat, even light. Near a window in daytime, not under a single ceiling bulb that throws a hot glare across the photo.
- Straight overhead, no shadow. Hold the phone parallel to the photo and step to the side so your own shadow doesn’t fall on it.
- Use a scanning app. Google’s free PhotoScan takes a few frames and merges out the glare automatically. It beats a plain camera snap every time.
- Capture the whole thing at max resolution. You can crop later; you can’t invent detail you never captured.
Spend the extra minute here. It’s the highest-leverage step in the entire process.

The free tools that actually deliver
You don’t need to buy anything to get excellent results. A few standouts:
- Google Photos “Photo Unblur” and the Magic Editor. If your photo is already digital, open it in Google Photos and try Unblur — it’s built for exactly this and free on most phones. Genuinely one of the easiest wins available.
- GFPGAN / CodeFormer (free, open source). These are the face-restoration engines that power a lot of paid apps. You can run them free through hosted demos on Hugging Face — upload a photo, get a restored face back. CodeFormer has a “fidelity” slider that’s your best friend for keeping results realistic.
- Upscayl (free desktop app). Open source, runs on your own computer, no upload, no watermark. Superb for enlarging small or soft images and adding believable detail.
- Your phone’s built-in AI editor. Recent iPhone and Android photo tools now include sharpening and cleanup that quietly use AI. Try them first — the best tool is the one already in your pocket.
Paid options (Remini, MyHeritage’s restorer, Photoshop’s Neural Filters) can be worth it for volume or for the trickiest cases, but start free. You’ll be surprised how far it gets you.
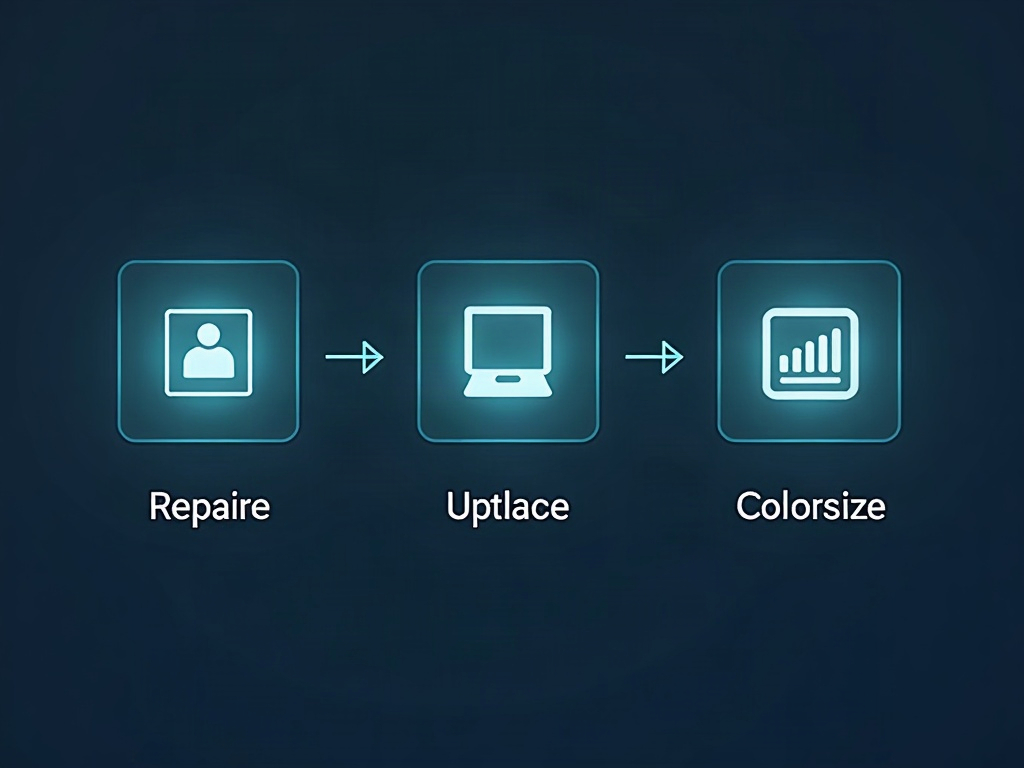
The right order: repair, then upscale, then colorize
This is the trick the pros use and beginners miss. Doing these steps out of order bakes mistakes into the image.
- Repair the damage first. Scratches, creases, missing corners, dust. Fix structural damage while the image is at its original size so the AI isn’t also fighting to enlarge it.
- Restore faces. Run a face-restoration pass (GFPGAN/CodeFormer). This is where blurry, muddy faces snap back into recognizable people.
- Upscale. Now enlarge with Upscayl or your upscaler of choice. You’re upscaling an already-clean image, so it has good information to build on.
- Colorize last — if at all. Colorization is optional and the most likely to look fake. Do it on the finished, clean image so the color model has the clearest possible base.
Follow that sequence and even a rough starting photo comes out looking intentional rather than processed to death.
How to avoid the “plastic face” look
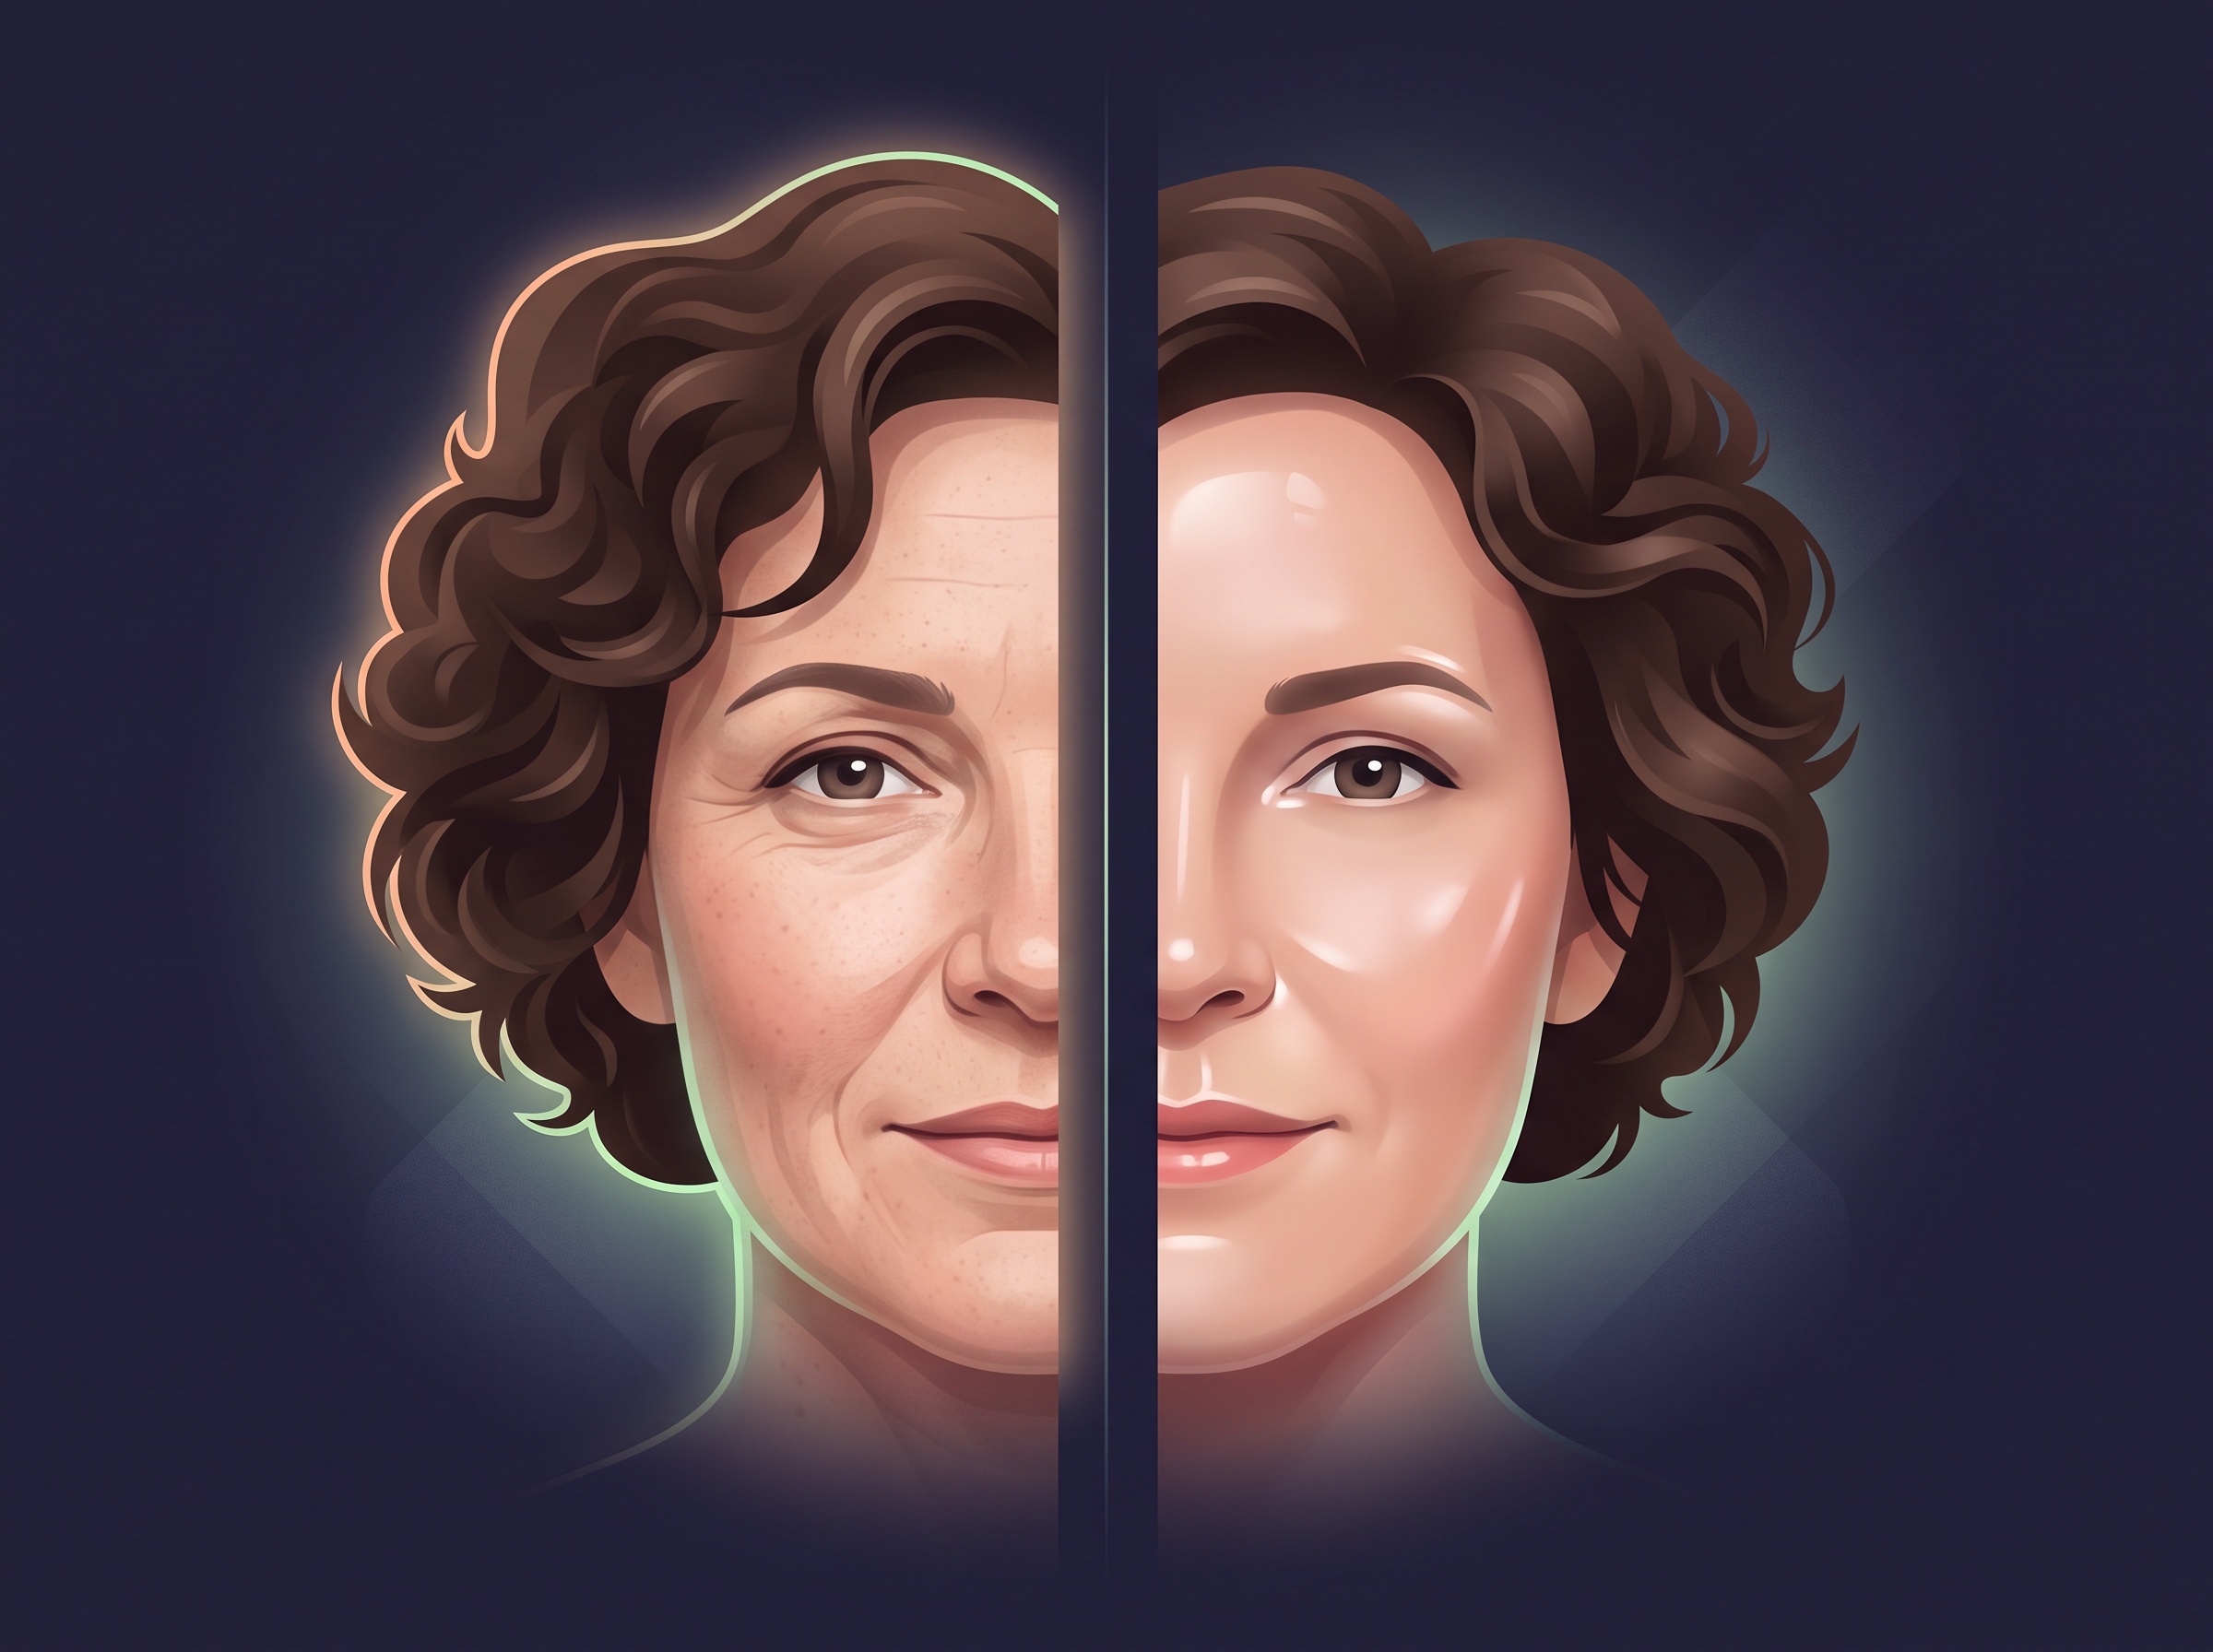
You’ve seen it: restored photos where everyone has poreless, airbrushed skin and slightly wrong eyes. That happens when the AI is turned up too high and starts inventing a face instead of recovering the real one. Here’s how to keep it human:
- Use the fidelity/strength slider. In CodeFormer, higher fidelity keeps more of the original person. Dial the strength down until the face looks like your relative, not a stock model.
- Do less. One well-judged pass beats stacking five filters. Every extra pass drifts further from the truth.
- Watch the eyes and teeth. These are where AI hallucinations show up first. If they look “off,” back off the strength.
- Keep the original. Always work on a copy. If a restoration looks great except the mouth, you can blend the good original back in.
The goal isn’t the sharpest possible image. It’s the most honest one — the version that still looks like the person your family remembers.
A quick 10-minute workflow
Put it together and here’s a realistic, free start-to-finish run:
- Scan the print with Google PhotoScan by a window.
- Run a face-restoration pass on CodeFormer (Hugging Face demo), fidelity turned up so the face stays true.
- Upscale the result in Upscayl to a print-worthy size.
- Optionally colorize, then compare against your original and pull back anything that looks invented.
- Save at full resolution and back it up — you just made this memory future-proof.
Ten minutes, zero dollars, and a photo you can finally print and frame.

The technology here is genuinely remarkable, but the reason to use it isn’t the technology. It’s that a face you thought was lost to a bad scan and forty years of fading can be clear again — clear enough to hand to your kids and say, this is who she was. That’s the best thing AI does: it doesn’t replace the memory, it hands it back to you. Grab the shoebox this weekend and try one. The first restored face that looks back at you will make a believer out of you.
More from the archive
- AI Image Text Translation Tools: Translate Signs, Menus, and Documents While Keeping Original Fonts and Styles
- Apple’s New ‘Reference Image’ Mode: How Your iPhone Can Now Prove a Photo Is Real, Not AI
- Qwen-Image-3.0 Just Dropped: The Free-to-Try AI Image Tool That Actually Gets Text Right